


Columbus Dog Connection – Making PVC No Sew DIY Dog Beds
This elevated PVC dog bed is very easy to make and there’s absolutely no sewing involved.
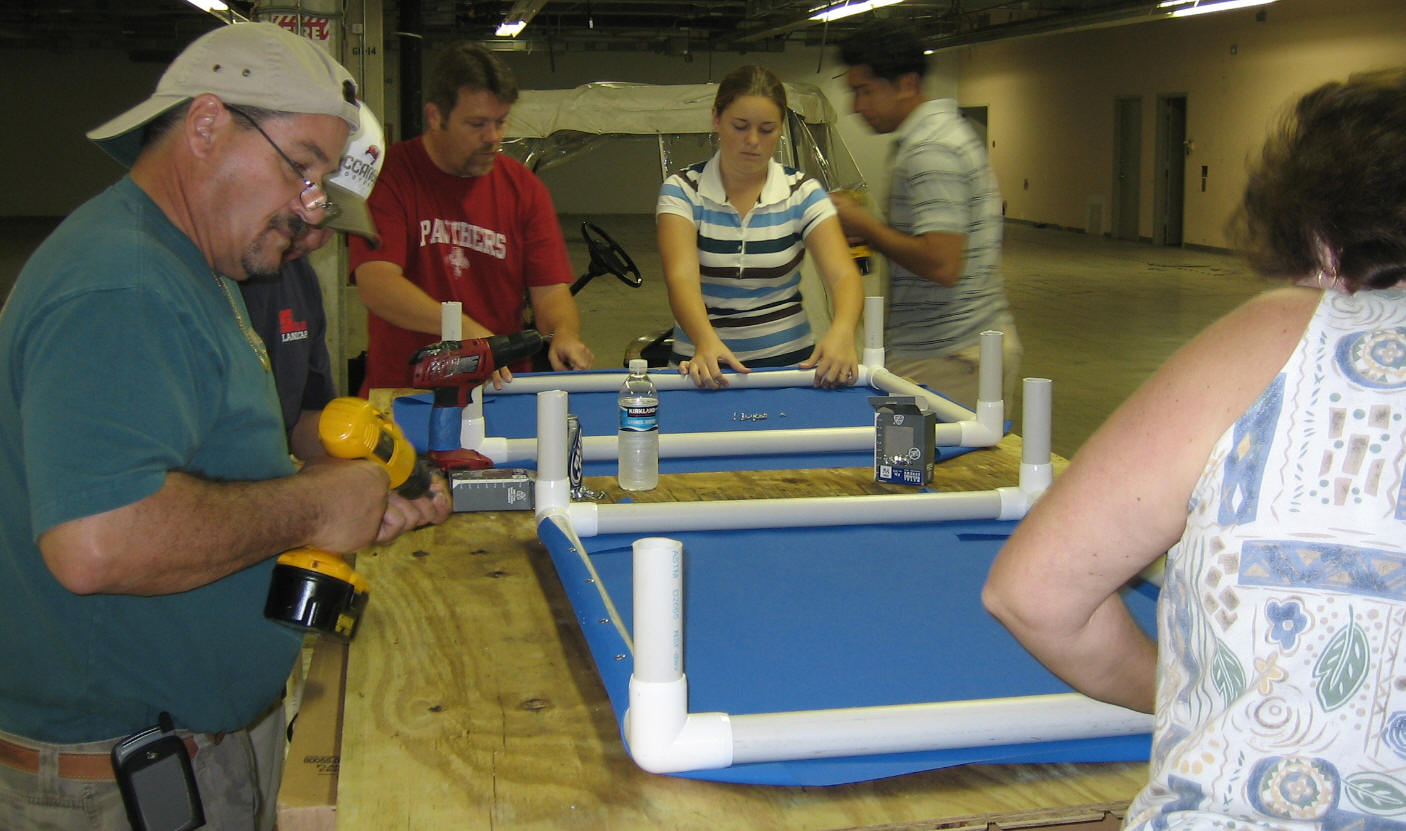
It does take a couple people to accomplish and can make a great family or volunteer project. Maybe something you can talk your boyfriend/husband/wife/teen to help you and actually can make for a great teamwork building exercise.
An elevated dog bed keeps your dog off of the cold floor in winter months and help to cool them off when its hot. The elevated dog beds can be made to be water-resistant and are not as welcoming to fleas, mites and ticks as your traditional dog beds and the suspended platform provides added comfort by creating low-impact areas to pressure points and joints.
These beds are also easy to keep clean and most importantly.. YOUR DOGS WILL LOVE THEM! ❤
THE DIY ELEVATED DOG BED MADE OUT OF PVC PIPES WHEN ALL COMPLETED…

DIY – PVC Elevated Dog Bed

Build an effective, durable cots for dogs for around $10 each – by Monkeyboy13 on instructables.com
This would be a great DIY project for volunteer groups or families to make in bulk to donate to Dog Rescues or your Local Humane Society. Make sure to contact them first to double check they’ll accept donations like this…

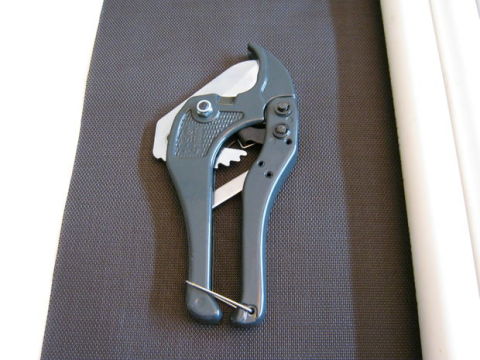
· PVC pipe 1-inch (inside diameter determines the size) schedule 40 (thick wall). Can be purchased at Home Depot for about $2.48 for a 10-foot stick.
· Three way corner pieces (1 inch) item # F100W3W. Cost about .99 cents each if purchasing 240 count. This is a furniture grade specialty item that cannot be found at many places.
– Can be purchased at:
C & S Plastics 1550 5th. Street SW, Winter Haven, Florida 33880 – Phone number: 863-299-6639.
· Open weave plastic mesh marine upholstery fabric (similar to Phifertex) is the best choice to use. Awning fabric (similar to Sunbrella) can also be used, but it is not as easy to disinfect or dry.
If only doing a few beds ask your local boating upholstery shops for scrap pieces. If needing fabric in bulk search the Internet for best prices.
· Buildex Teks Lath Screws #8 X 1/2″ can be purchased at Home Depot for about $5.49 a box with 260 count or on Amazon here.
If needing screws in bulk contact Fastenal located at 295 Lewis Street, Fort Walton Beach, Florida or call at 850-302-0285 can be purchased for about $1.53 per 100 count. Ask for part number 32142.
· Small Cot
o Cloth size needed 36″ X 29″
o Cut two pieces of PVC at 18.5 inches long
o Cut two pieces of PVC at 25.5 inches long
o Cut four pieces of PVC at 4 inches long
o Finished dimension is 22″ X 29
o One stick (120â€) of PVC = one small cot with 12 inches of scrap.
· Medium Cot
o Cloth size needed 34.5†x 38.5â€
o Cut two 24†pieces of PVC
o Cut two 28†pieces of PVC
o Cut four 4†pieces of PVC
o Finished Dimensions is 27.5†x 31.5â€
o 1 stick (120â€) of PVC= 1 medium cot with no scrap. This Size is most efficient use of your PVC.
· Large Cot
o Cloth size needed 36†x 45â€
o Cut two 25.5†pieces of PVC
o Cut two 34.5†pieces of PVC
o Cut four 4†pieces of PVC
o Finished Dimensions is 29†X 38â€
o One 10 foot stick + 20†of PVC= 1 large cot
Assemble the main frame. Make sure there are equal lengths of PVC on opposite sides to produce a frame that measures finished dimensions.

Now, take a rubber mallet and pound each corner piece joint with medium force to secure them in place. If you find the joints are loose and turn easily, reinforce with a small piece of duct tape placed on the end of each piece to make the connection tighter.
Center the frame on the cut fabric. Use a ruler to measure around the outside edges making sure the frame is centered on the fabric

Fold each corner and slip the folded corner under the edge of the frame without moving the frame out of center.

On the long side of the frame fold the cloth edge over about ½ inch and then fold a second time (double fold). The fabric should line up in the center line of the PVC on the bottom side of frame

On opposite side of cot stretch fabric by pulling tightly. Add first screw at midpoint, then add the final screws evenly spaced.
Attach one screw through the fabric at the mid point of the PVC making sure that the screw penetrates all layers of fabric.
WARNING: STOP DRILLING AS SOON AS THE SCREWS ARE FLUSH WITH THE FABRIC TO PREVENT STRIPPING THE PVC!
IMPORTANT: IT IS EXTREMELY IMPORTANT THAT YOU PLACE SCREW HEADS NEXT TO THE EDGE OF FABRIC.
HINT: A MAGNETIZED DRILL BIT HELPS WITH ONE MAN ASSEMBLY
Add a total of about 7 to 9 screws (depending on the size of the cot you are making) on this one side to secure fabric to PVC.

On opposite side of cot stretch fabric by pulling tightly. Add first screw at midpoint, then add the final screws evenly spaced.

Repeat steps 6 through 9 on the short sides of cot.
Set the frame on a level surface. If the frame is not square(wobbles) lay the frame on its’ side and face the bottom. Twist the frame until it is square.
Add an additional screw on the back side to lock the corners to the rails as shown. This prevents the frame rail from turning which will cause the fabric to bottom out like a hammock and drag the ground

Set the cot frame upright. Follow this method to get corner piece screws evenly spaced.
(Step 1) Add the first corner screws dead center of each corner top.
(Step 2) Now turn cot on its’ side and place a screw on each side of the corner pieces.
(Step 3) Now add 1 more screw evenly spaced between the first top screw and the side screw. You should end up with a total of 5 screws holding the fabric to each corner piece. See illustration for 3-step process.
NOTE: IT IS EXTREAMLY IMPORTANT THAT YOU NOT LEAVE A FABRIC EDGE THAT A DOG CAN GET A GRIP ON WITH HIS TEETH. THE CORNERS ARE THE MOST LIKELY PLACE A DOG WILL BEGIN TO CHEW. PLACE SCREW HEADS NEXT TO THE EDGE OF FABRIC. DO NOT LEAVE A LIP OF FABRIC ON THE EDGE.
FINISHED PRODUCT

The Finished Project! One Happy Dog!

If you like to sew here is another tutorial video on “How to Make a PVC Pet Cot or Bed” (Sewing Project by Sailrite).
Thank you to the kind people who made the videos and the tutorials! Monkeyboy13 on instructables.com, columbusdogconnection.com and Sailrite!
 One of our most popular post of all time (believe it or not) was a DIY project on How to make your own Puppy Pen out of PVC Pipes! so when I found these How-To make PVC dog bed projects online.. I thought our readers might really enjoy these as well.❤
This one is pretty simple and a short step by step video.
Hope you enjoyed the tutorial and videos and make sure to share pictures of your completed PVC dog beds and we’ll post them here for you! Send them to info@dreamydoodles.com

GET YOUR COOLAROO ELEVATED DOG BED ON AMAZON!
We have a Private Group on Facebook that's just for our Dreamydoodle Puppy Families!
Plz Click Below to Join Us.. Please don't forget to answer the questions on the join request screen so our Admins know to accept your request!

